Translate

Monday, November 3, 2014

Painting Tips: Buy or Mix?


Hey again!

As a quick preface I'd like to say that I am not showing how to mix paints in this post.  I think there will be some good info in here though so read on!

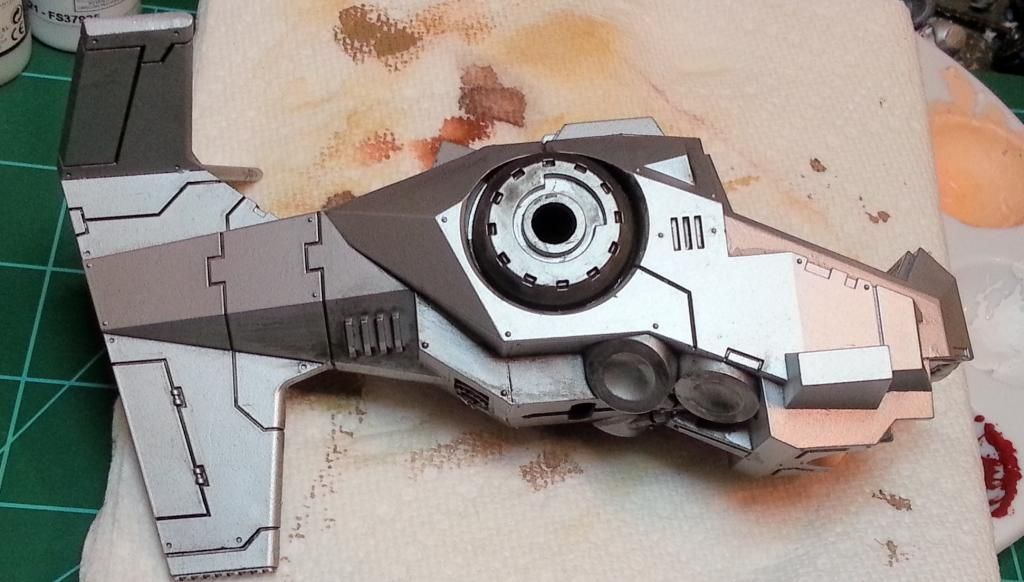
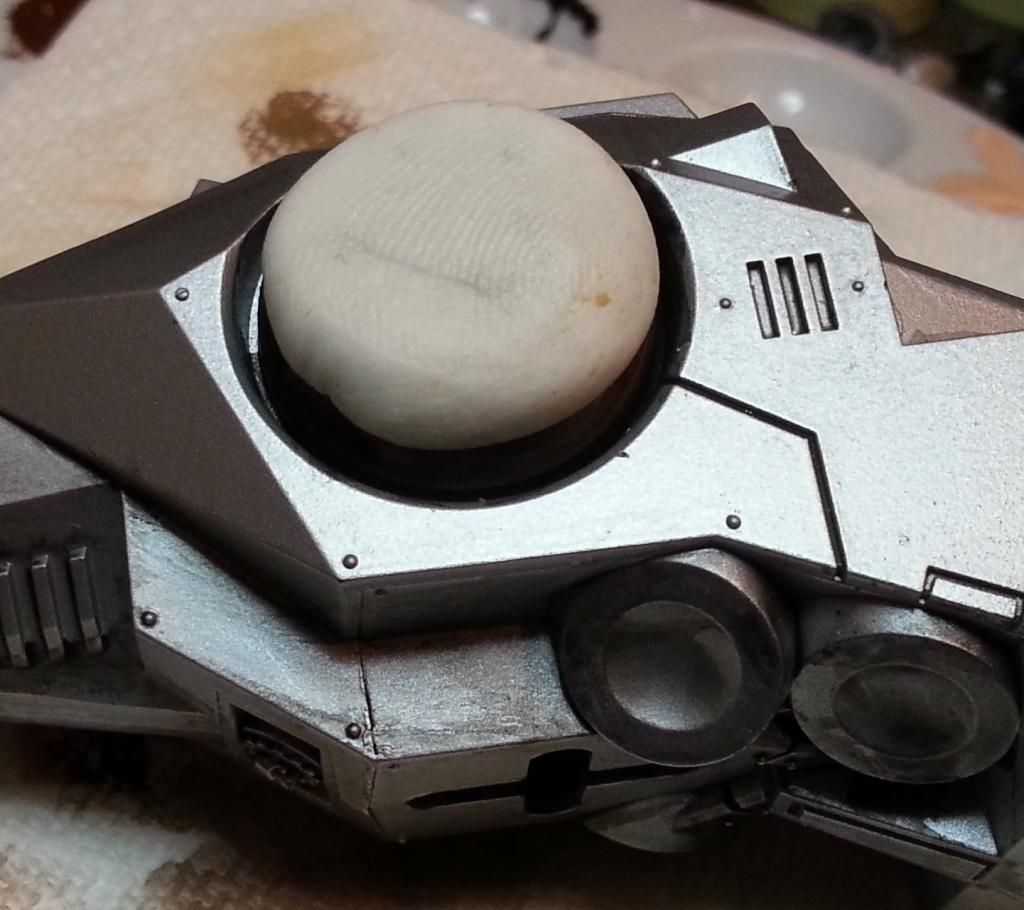
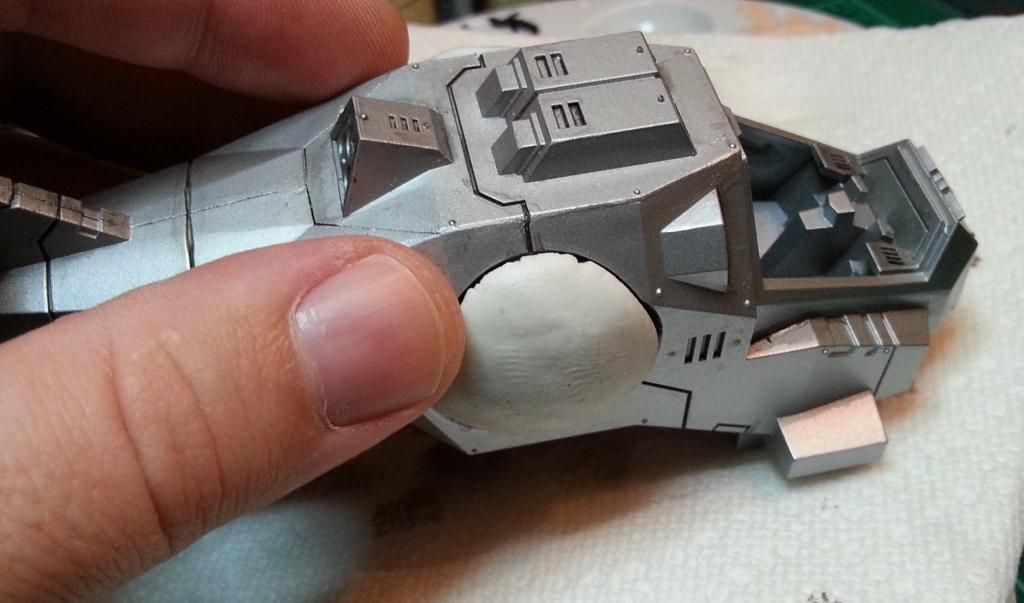
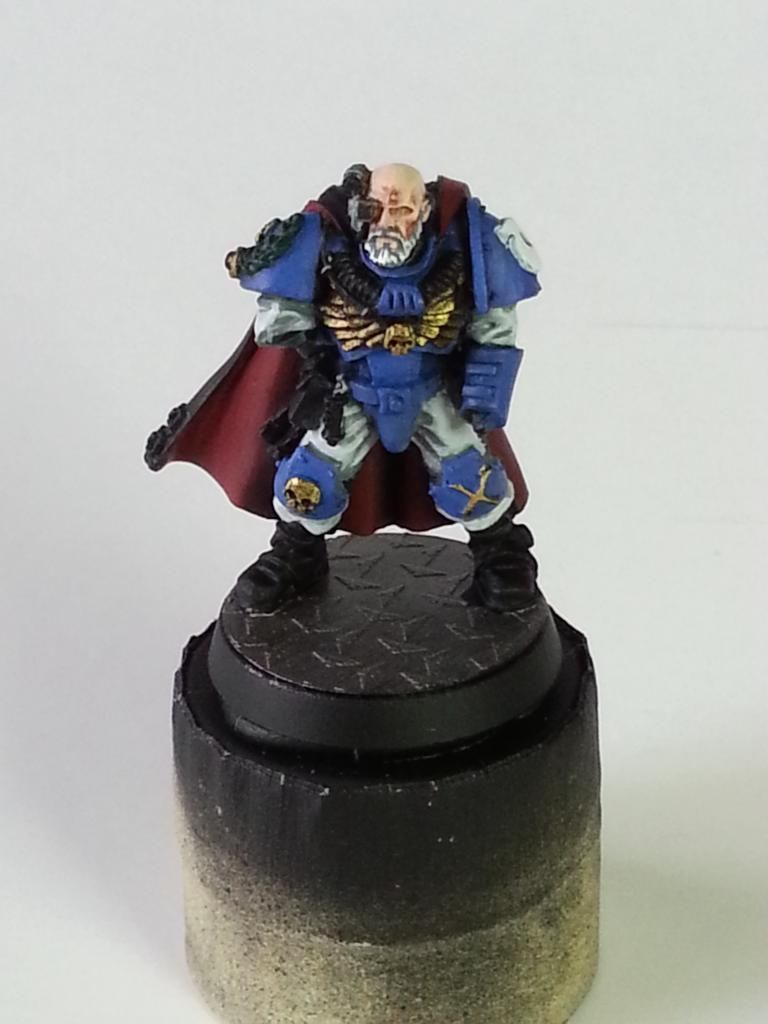
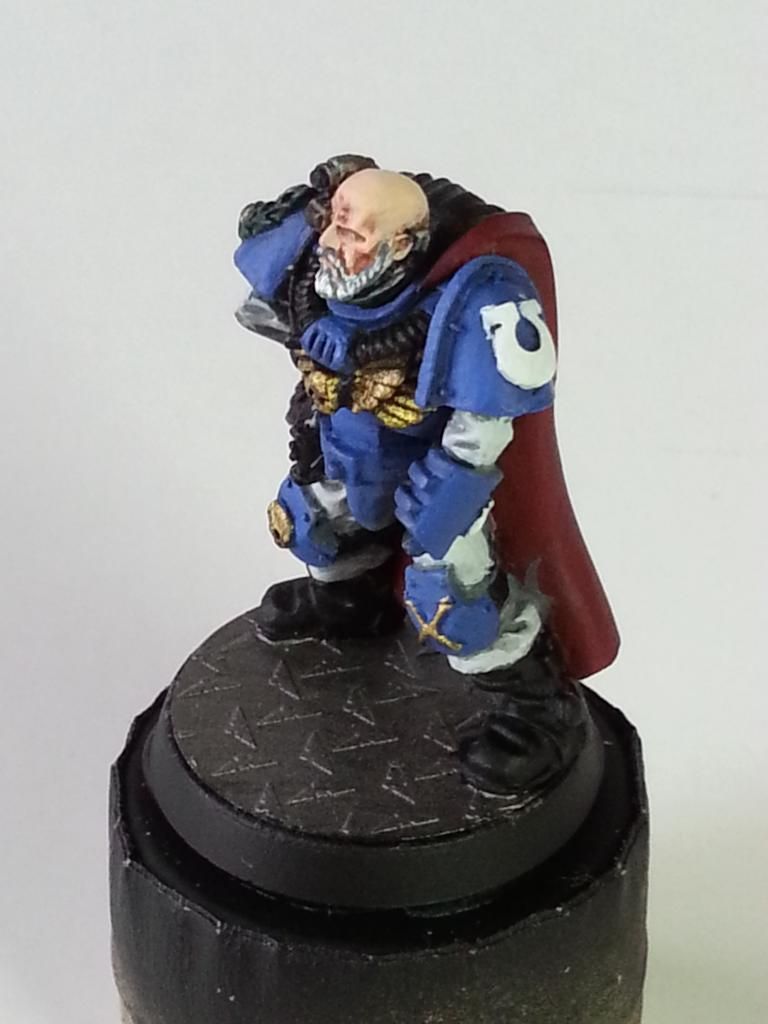
Tonight I was fooling around here at my hobby table, had YouTube on, and was digging through and looking at various paints and supplies here around me.  I made a trip to one of the hobby and gaming stores not too far from me earlier in the day.  I purchased a few paints and the newest weekly White Dwarf.  

Normally I don't get any of the White Dwarf issues unless there are very particular topics of interest to me and this time that was the case.  A new Warhammer 40,000, Tyranid release for the Toxicrene/Maleceptor model is being featured and it includes the rules for the model.  I am big on the ol' space bugosaurs and so I wanted that one, but looking around at the painted models inside and then the paints I had bought I had a seed of a question forming.

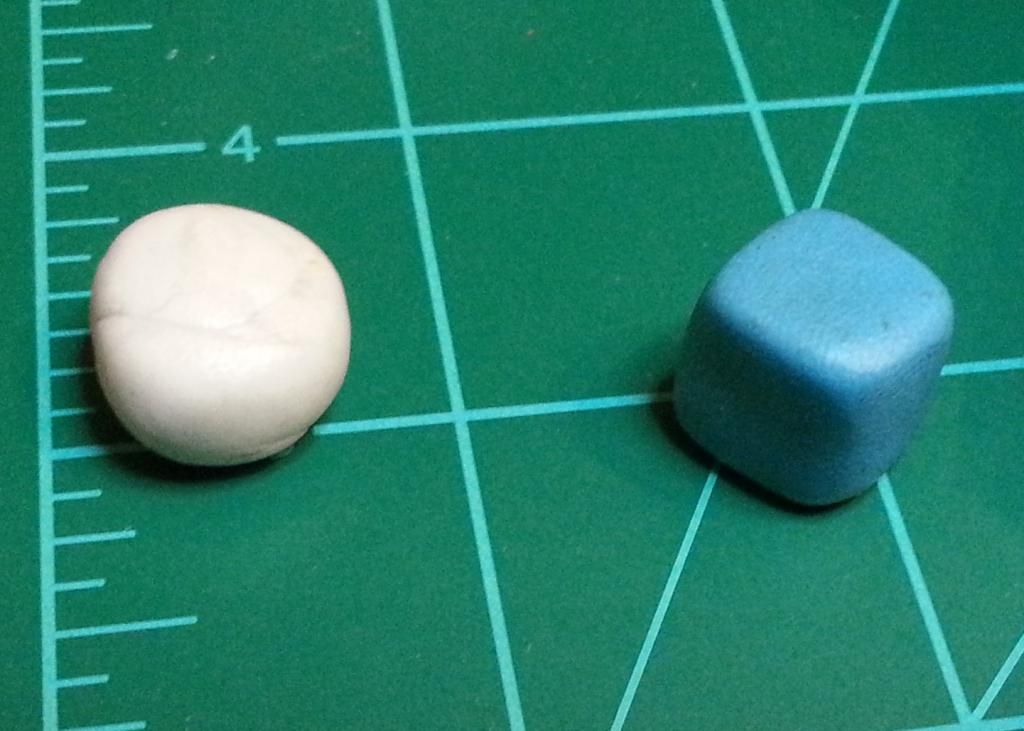
Here is an example of two 
similar "bone" colors.
So now, at my table, I looked over at a couple of the shades I thought I would definitely use soon.  I was surprised when I looked at one of the new ones again but had actually picked up an older paint pot.  They looked nearly identical but there was a very small difference, mostly in the brightness.  I'm not surprised that those closely matched colors are for sale, I knew that already.  I was surprised though that I had known so certainly that I needed this new color, even though they are barely different.  So then it lead me to the question...  Would I have been better off just choosing to mix and blend the older paint when I needed it brighter?

Now, first thing is I can say from experience that this type of thing is common among all companies that make paints that I am aware of.  Various and similar hues, shades, and values, are produced depending on multiple factors.  I have to say this is really a positive because more options is almost always better.  But we still want to know if it's really better to buy more colors, or just mix to achieve what you want.  Truthfully I had asked this question to myself long ago but it came back to me consciously today. For me the answer is both and I think there is no right or wrong answer to this one.  Each person painting will know what they really want in their mind's eye, and they'll likely have a good idea of their own skill and budget.  If they know these things the choice becomes very easy anytime that question is asked.

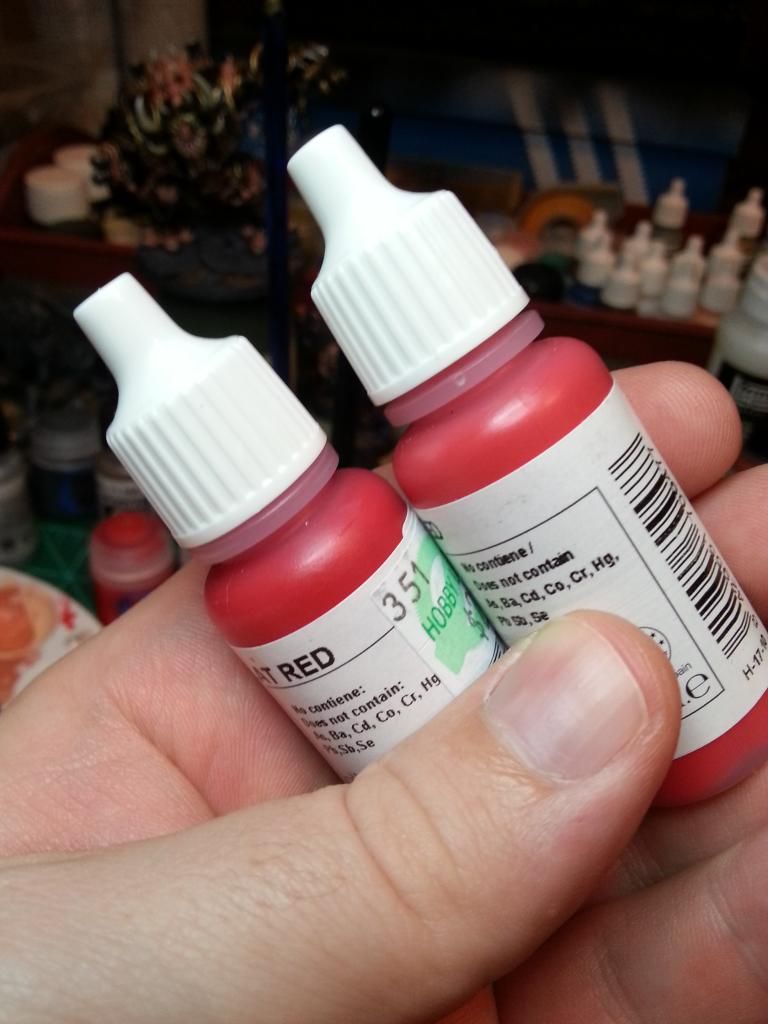
Different company, similar situation.  
Tricky to tell these reds apart.
Let's say perhaps you're a bit like me.  I believe my skill level is quite good and so I'm comfortable mixing colors at will.  I have a background in art and lots of experience and so I can choose what I want and have success at realizing it.  However I also often buy new colors as my projects and knowledge expand.  Many times these new purchases make mixing paints unnecessary and so there are easily times I don't choose to mix colors.  Those similar but slightly different colors can be a time saver for highlights and gradients and they also have the bonus of being consistently the same color when you use them.  Mixing always carries a margin for error.  This is why it's good to make precise measurements and notes when you mix colors.  You can repeat them with good success later on.  

If you're a newer hobbyist and maybe have a limited budget, mixing paint can actually be very good.  You gain more skill the more you work with paints and also mixing to make colors saves money.  You should always plan your project though and make sure you have a grasp of some color theory.  You can do your own searches on this topic but I have found a link here that seems to be good to start with.  NYU Color Theory link  I am not affiliated with anyone connected to that site but the information looks good and also it didn't seem to be related to any purchasing or selling.  You might find a lot of that while searching.  For how to mix paint I recommend a lot that you can find easily on YouTube.  I haven't written about that as of yet.

Of course if you have the extra budget and you want the colors I say go for it.  Having more options is better in my opinion and if you're putting more time into your hobby it usually pays off sooner or later.  I've certainly amassed a big collection myself.

Well, that's it right now.  Thanks for reading if you did and share, comment, and definitely come back!

Sunday, October 26, 2014

Painting tips: Masking with ease

Hi there!  

Today I have a tip for hobbyists who want to paint models with a bit more confidence while using spray techniques.  There are a good number of pics for this one so be prepared for the post to be a bit long.  What I will show is a form of masking, which is the term painters of all types use to describe how they create separations between multiple layers of paint and build patterns or just protect an area they don't want to touch with a new color.  Of course hobbyists with a little experience may be familiar with this already in some form or another.

What I am about to show is a type of masking using a cheap and re-usable material often called tack, or blu-tack.  This is the sticky putty that is usually sold in stores near office or paper supplies and often sits near scotch tape or the non-damaging wall hooks.  I first learned about this stuff when I was in grade school because all my teachers used it for hanging the classroom posters.  I have shown this product before when I built my model grips and I use it there for holding the models I paint onto the grip.  Now it's a widely used practice so chances are you can find it elsewhere on the web but hopefully my post today will be sufficient to teach using this.  

Today I have a Warhammer 40k Storm Talon as my example.  This model is a bit interesting because it's about to get it's third base coat.  This is because the destiny of this model has changed a couple of times.  Originally I was building it as a gift but when that idea became unnecessary I decided to keep it myself.  I wanted to build a Doom Eagles detachment then but since that time I let the model sit and then changed my mind again!  Now it will be Iron Hands so, back to black.  The reason I'm masking this vehicle though is because I had done a little work on some of the metallic parts of the main fuselage including the cockpit.  I'm going to spray this model black once more and so I'd like to preserve those parts.  So, let me show you how I will do this.


Above is an example of the putty-like tack that we are using.  I have the more recognizable blue type on the right and some even cheaper white tack on the left.  Both work equally well for our purpose because they are pretty much identical substances except for their color.


Here is my Storm Talon.  This model was primed once long ago and then received a coat of Tamiya USAF Silver acrylic base spray.  The Tamiya paint does behave differently than many of the paints sold by gaming companies.  It is primarily for standard model hobby but I have found that many of the general model and train products are excellent for gaming models as well.  Something to keep in mind.  What I have done here is added some black shade wash to specific parts as part of a previous plan.  I want to keep certain of these areas the way they look here instead of them being painted black with the rest.  I will take the putty and apply it to the parts as you will see below.  For this I recommend keeping at least one sculpting tool handy so you can push the putty and form it where you like.  If you don't have a sculpting tool many other objects can work but aren't absolutely necessary.  Of course be sure not to use anything dangerous or valuable just in case.


Here I have added a piece of the putty to the area I want masked.


Now you will see that have formed the putty right up to the edge I want covered.  The parts shown here are for the engine nacelles to sit on and they have a circular recess.  It is not necessary to fill this all the way to the edge of the body panels because the putty would also keep the black from hitting the edge of the body panels here.  For this reason the putty is close to the edges, but not actually touching it.


So here you can see I have done this on both engine mounts, the optics recess in the nose, and the cockpit.  For those of you who have planned ahead you might not need to do the cockpit this way but for this model the plan was abandoned a couple of times.  This is a good example of how to go back and work around a mistake in a painting process because normally I would paint the exterior of a model like this with the canopy already in place after finishing the cockpit.


Now I have re-sprayed the model in black.  You can see the paint is covering the tack well and that's to be expected.  Later on when the tack is removed and re-used the paint will mostly disappear.


One other important thing you might notice here is that as I have sprayed I have not put on a thick coat or put paint completely in all the crevices.  This is because it is unnecessary and might even create problems.  In fact I will use at least one more thin coat of black paint with a brush to finish the model's base color.  More thin coats are usually better than fewer thick coats.  Now I will simply remove the tack from the model.  This is not difficult but if some bits of tack try to stick just be patient and use the tack you have in your hands to help pull it away.  A sculpting tool or other similar object can also help but again, be patient.


Here you can see the masked and protected areas.  First is the front view showing the cockpit and sensor recess.  Next is the engine nacelle mount.


There we have it.  Blue or white tack makes a great alternative to liquid masking products or tape in many cases.  The pieces I have just used were simply removed and rolled up again for later use with no problems.  Besides the technique I have just shown it is also very easy to use tack masking for patterns of all types.  I have seen it used to make great camouflage in the past and really it's only limited by imagination.  Always be sure to use this and other masking techniques on painted surfaces that are well dried so you can avoid pulling up paint or causing other defects.  

So, questions or comments?  I love to get feedback and am really glad to chat about anything related to gaming and hobby so please feel free to contact me.  Also share if you like my content!

Tuesday, October 21, 2014

Work table update: Space Marines

Hello, yet again!

Three times today in fact!  Lol, it's not going to be regular that I do that but I had some things waiting to get posted here.  

Right now I'm going to post up a little progress I've made for my Space Marine allies.  As I'm sure many can tell I'm a very big fan of the Dark Angels and so I do have a sizable force for the First Legion.  One day though, not long before 7th edition 40k came out, I decided that I really liked how allies were shaping up as a prospect for my collection.  I bought the Space Marine Codex and started to figure out what I was interested in.  Of all the great options available a few stood out to me and one in particular was right up my alley.

Sergeant Torias Telion is a Character for the Ultramarines, and what a guy.  I mean, who doesn't love a legendary sniper!  So right away I knew I had to get this figure and actually attempt to use Space Marine Scouts as a regular addition to my forces.  Of course as a collector I didn't stop with Sgt. Telion, or Ultramarines, but that's another story altogether.  Here though I present to you my WIP Sgt. Telion figure in all his glory.


Now, the Sgt. here is certainly a ways off from completion but I figure he's about 50% finished.  I took these pics to send to Kris Belleau and get his impression on the flesh mainly.  I had decided that he was a bit pale and that I wanted him to have a bit more tan color on his head.  I mean, who ever heard of a Veteran Soldier who never went outside!  Anyway I have done a bit more and addressed the flesh tone since then, and I'll get those up later.  You might also notice I'm using the Soda bottle top grips I built earlier in the blog.

So, questions?  Comments?  I'd love to hear any feedback on this guy or any other chatter that's on peoples minds!  Please share if you like and I'll hopefully see you later!